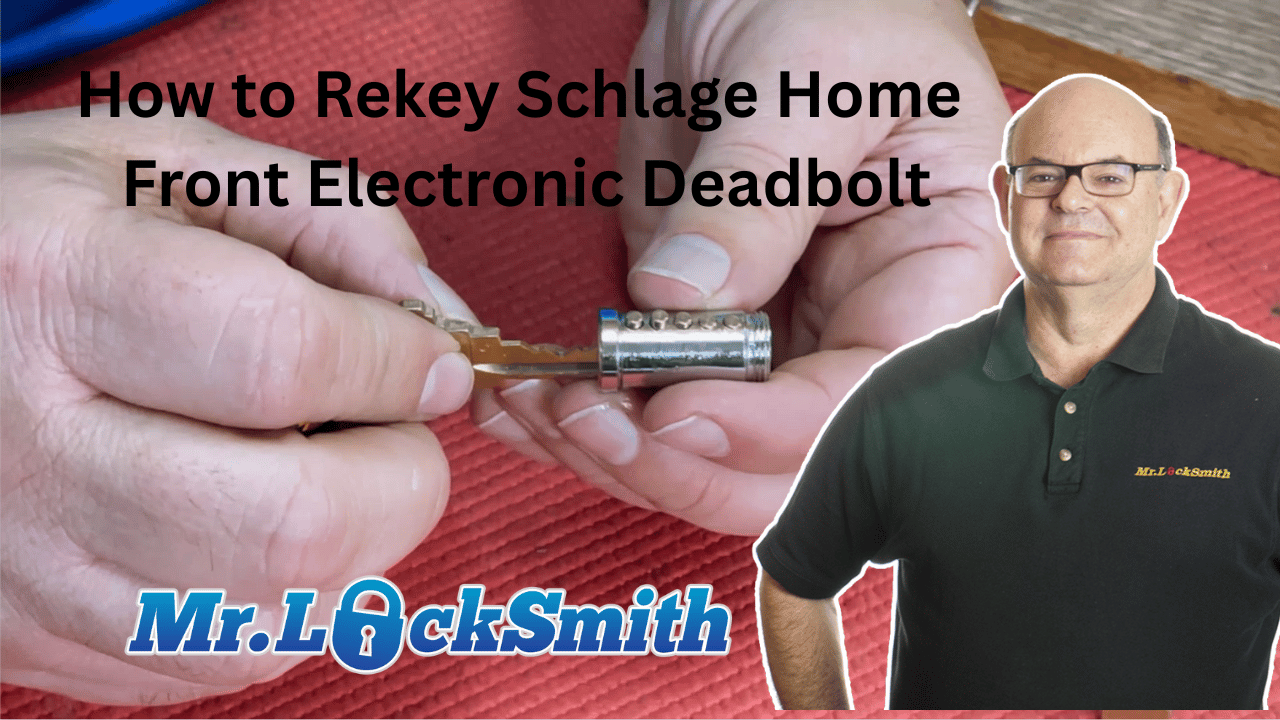
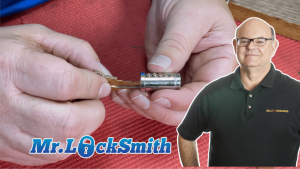
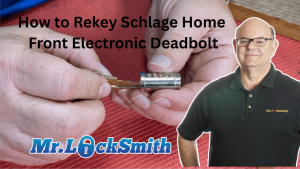
How to Rekey Schlage Home Front Electronic Deadbolt: Terry from Mr. Locksmith walks you through the fast and secure way to rekey the Schlage Home Front Electronic Deadbolt. Whether you’re upgrading your home security, replacing lost keys, or standardizing keys across multiple locks, rekeying is an essential skill every homeowner, apprentice, and professional locksmith should know.
The Schlage Home Front is a solid, user-friendly electronic deadbolt—and with the right technique, rekeying it is straightforward. In this video, Terry breaks down each step clearly, showing you how to safely remove the cylinder, reset the pins, and create a smooth, reliable key operation. You’ll learn real locksmith tips, expert shortcuts, and practical troubleshooting methods you won’t find in the manual.
If you want to master Schlage hardware, boost your locksmithing skills, or simply understand your electronic deadbolt better, this guide is the perfect place to start. (Source: Terry Whin-Yates)
Source: Mr. Locksmith Youtube http://www.youtube.com/user/24hrMrLocksmith
How to Rekey Schlage Home Front Electronic Deadbolt
Rekeying the Schlage Home Front Electronic Deadbolt is straightforward once you understand the internal layout and the order of disassembly. Whether you’re a locksmith, a student in training, or a DIY homeowner, this guide will walk you through every step—carefully, clearly, and with the practical tips you won’t find in the manual.
Mr. Locksmith Automotive (604) 259-7617
Step 1: Remove the Exterior Assembly
To start the rekeying process:
-
Press the two middle tabs to release the back plate.
-
Remove the batteries to access the internal components safely.
-
Lift the unit and carefully disconnect the electrical connector—don’t yank it.
-
Remove the two mounting bolts holding the lock together.
-
Gently feed the cable through the door as you remove the exterior keypad assembly.
From the front, the cylinder will now slide out.
Step 2: Disassemble the Cylinder
The Schlage Home Front uses a standard SC1 (5-pin, Schlage C) keyway. The cylinder includes:
-
Lazy tailpiece
-
Retainer pin
-
End cap
-
Washer
-
End cap pin
-
End cap spring
Remove the Cylinder Components
-
Depress the retainer pin and turn left to loosen the end cap.
-
Remove the end cap, washer, and tailpiece.
-
Don’t forget the tiny end cap spring—if you don’t take it out now, it will fall out later.
Insert the working key and turn the plug 45 degrees. Using a follower, push the plug out of the housing.
Step 3: Read the Key Code & Repin the Cylinder
The key code is engraved directly on Schlage keys. In this example: 66245.
Each number corresponds to a pin depth. Using your Lab kit:
-
6 = 0.255
-
2 = 0.195
-
4 = 0.225
-
5 = 0.240
Install the new pins in order, ensuring everything sits perfectly flush and meets Schlage factory tolerances.
Terry’s Tip:
“I always use new Lab pins—never reuse old pins. You’re rekeying for precision and reliability.”

Step 4: Reassemble the Plug
With the plug pinned:
-
Insert it at a 45-degree angle.
-
Ensure smooth rotation with the key.
-
Keep your thumb over the plug while reinstalling—don’t let it launch across the room.
-
Reinstall the end cap spring.
-
Insert the end cap pin (flat on one side, pointy on the other—pointy side up).
-
Tighten the end cap finger tight, then back it off one click to ensure smooth operation.
Make sure the retainer pin fully engages—if not, the end cap will loosen and cause callbacks.
Step 5: Check the Top Pins (Driver Pins)
Before reinstalling, you can inspect the top pins:
-
No mushroom pins
-
No security spools
-
Standard drivers throughout
This makes the lock easy to service and pick—no surprises.
Step 6: Reinstall the Cylinder
-
Test the key—key in, key out, smooth rotation.
-
Lubricate lightly with Tri-Flow (never WD-40).
-
Reinstall the tailpiece—there’s only one way it fits.
-
Feed the cable back through the door.
-
Seat the cylinder against the door and hold it in place.
-
Start both mounting screws finger tight, then snug them down (not too tight!).
-
Test the mechanical key operation before reconnecting electronics.
Step 7: Reconnect the Electronics & Reassemble
-
Connect red to red on the cable harness.
-
Run the cable through the designated channel so it won’t get pinched.
-
Install the interior escutcheon and mounting bolts.
-
Reinsert the AA batteries.
-
Test the lock motor and keypad operation.
-
Clip on the battery cover and test everything again.
Final Test
-
Key works smoothly
-
Bolt retracts fully
-
Electronics respond normally
-
No binding or torque issues
Your Schlage Home Front Electronic Deadbolt is now professionally rekeyed and ready for service. Source: Terry Whin-Yates Mr. Locksmith Linkedin
Mr. Locksmith Automotive (604) 259-7617
ONLINE AUTOMOTIVE LOCKSMITH COURSE & WEBINAR
✅ Sign up here: https://mr-locksmith-training.thinkific.com/courses/automotive-locksmith-training
For Updated Locksmith Workshop Training Dates and Location go to https://mrlocksmith.com/locksmith-workshop-training-dates/
✅ Sign up here: https://mr-locksmith-training.thinkific.com/courses/locksmith-course-Become-a-Locksmith
Source: Terry Whin-Yates Mr. Locksmith Linkedin
How to Rekey Schlage Home Front Electronic Deadbolt