How to Rekey a Kwikset Lock | Mr. Locksmith™ Training: Ready to master the art of locksmithing? Join Terry Whin-Yates for hands-on, professional training that takes you from beginner to pro. Whether you want to start a high-demand career or add elite security skills to your repertoire, our Mr. Locksmith™ Training provides the secrets of the trade that you won’t find anywhere else. (Source: Terry Whin-Yates)
[Sign Up for Online or In-Person Training Today!] Become the expert your community trusts.
For Updated Locksmith Workshop Training Dates and Location go to https://mrlocksmith.com/locksmith-workshop-training-dates/
Source: Mr. Locksmith Youtube http://www.youtube.com/user/24hrMrLocksmith
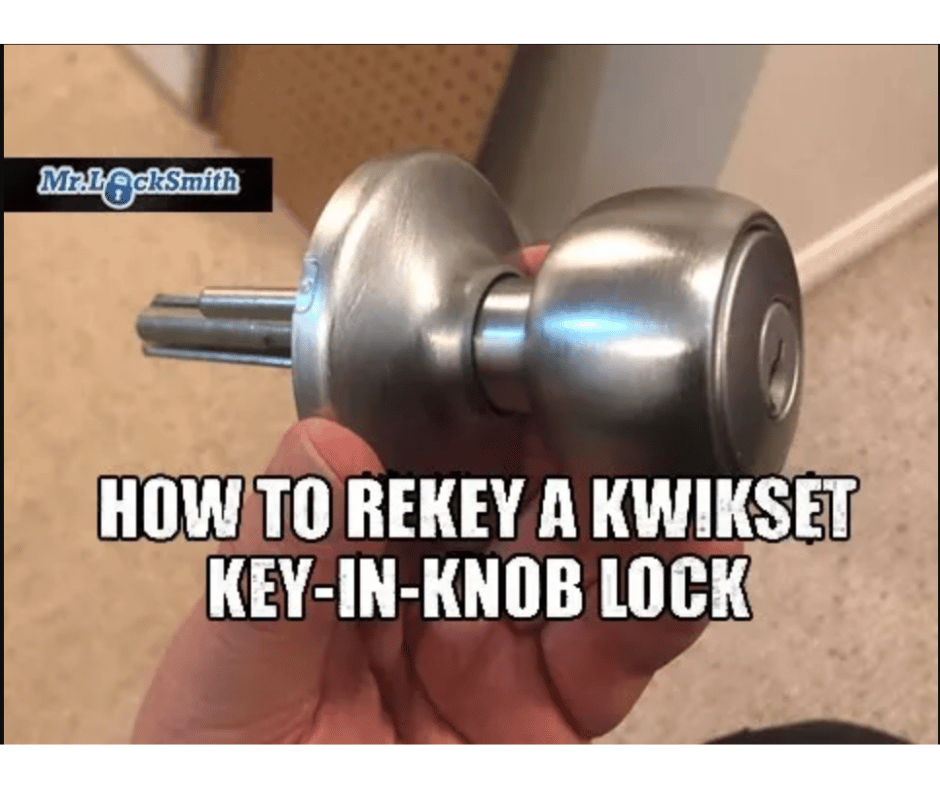
How to Rekey a Kwikset Lock | Mr. Locksmith™ Training
Mr. Locksmith Automotive (604) 259-7617
Have you ever wondered what actually happens when a locksmith “rekeys” your home? Many people think we replace the entire handle and deadbolt, but the truth is much more surgical.
In one of our most popular tutorials, Terry Whin-Yates—a 3rd-generation Master Locksmith—breaks down the step-by-step process of rekeying a standard Kwikset Key-in-Knob lock. If you’ve just moved into a new home or lost your keys, this is the most cost-effective way to reset your security.
The Tools of the Trade
To rekey a Kwikset lock properly, a professional uses:
-
A Kwikset Removal Tool: An inexpensive but vital tool for releasing the spindle and cylinder.
-
A Plug Follower: To keep the upper pins and springs in place while the plug is removed.
-
A Shim: Used if the original key is missing to “feel” the pins at the shear line.
-
A Pin Kit: Containing various sizes of bottom pins (the “teeth” that match your new key).

The Step-by-Step Breakdown
1. Removing the Cylinder
First, we remove the interior screws to pull the handle off the door. Using the specialized removal tool, we line up the spindle in the center and pop it out. By depressing the spring retainer, the internal cylinder is released from the housing.
2. Shimming the Lock (The Professional Touch)
If you don’t have the original key, a pro won’t just drill the lock. We use a shim and a blank key to manually lift each of the five pins until they hit the “shear line.” Once aligned, the plug can be turned and removed.
3. Re-Pinning the Plug
This is where the magic happens. We dump out the old pins and insert your new key into the plug. We then drop in new color-coded pins (ranging in sizes like .219 or .240) until every pin is perfectly flush with the top of the plug. This ensures that only your new key will ever turn this lock again.
4. Reassembly & Testing
The plug is reinserted at a 45-degree angle (this prevents the springs from flying out—a common mistake for DIYers!). Once the retainer clip and spindle are snapped back on, we reinstall the handle.
Terry’s Golden Rule: “Always, always, always test the lock with the door open. Lock it, unlock it, and remove the key several times before you trust it to close.”
Why Call Mr. Locksmith™ for Your Rekeying?
While rekeying looks simple on video, it requires precision. One wrong move and your springs can “explode” out of the cylinder, or your plug can jam permanently.
-
Non-Destructive Entry: We specialize in picking and shimming, not drilling.
-
Speed: Our mobile units can rekey an entire house in under an hour.
-
Peace of Mind: We are licensed, bonded, and insured.
Source: Terry Whin-Yates Mr. Locksmith Linkedin
For Professional Lock Rekeying in Langley & the Lower Mainland.
ONLINE AUTOMOTIVE LOCKSMITH COURSE & WEBINAR
✅ Sign up here: https://mr-locksmith-training.thinkific.com/courses/automotive-locksmith-training
For Updated Locksmith Workshop Training Dates and Location go to https://mrlocksmith.com/locksmith-workshop-training-dates/
✅ Sign up here: https://mr-locksmith-training.thinkific.com/courses/locksmith-course-Become-a-Locksmith